Take multiple images from a single roll to create a double exposure. You don't know what you will get until you develop the film so it is important to create multiple double exposure images. Once you've completed this, you can stack the images using Photoshop or Luminar 3.
Double exposure
Photoshop makes it easy to create double exposures. You can achieve this effect by first selecting the image to be double-exposed. Next, click the Edit tab to add a new image. It is possible to rotate the image and move it around in the Layers panel. Use a different texture to achieve a more dramatic effect. Once you have the background image and the second one selected, you can change the size and position of the latter. To create a double-exposure, you can change the strength and position of the eraser.
It is possible to make a double exposure with a digital cam. This method is much easier because you can immediately see the result without waiting for film develops. A digital camera allows you to choose the shots that you want to merge. An interesting final composite can be made with a silhouette or another type of texture. You may be able to create a secondary image that is similar in texture or color to the original. For seamless results, match the contrasts and lighting between the images.
Photoshop stacking exposures
Photoshop allows you stack multiple photos together to create one image. It is possible to combine several long exposures and create one single image by focusing on different parts. Stacking, which is similar to HDR, uses different shutter speeds to compensate differences in the exposure. Adam took two photos of a waterfall to capture its movement and the wind blowing leaves. He then combined the images using Photoshop.
Photoshop's stacking feature helps reduce digital noise. The process is very useful in astrophotography and other fields where underexposed areas or portions of the image are not visible. This helps to achieve the best balance in your images. Once you have the balance right, you can combine images to create the long-exposure effect. This tutorial will show you how. It is easy to do in just minutes.
Double exposure using a film camera
Creating a double exposure is a simple technique that requires the camera to shoot the same scene two or more times. Images can be randomly created or meticulously composed. The first exposure shows the subject. While the second captures it, the third shows the background. The final image combines both of these images. It is a great method to give your images more personality. This is a simple technique that can be used in any film camera.
You can make multiple exposures with some film cameras. This allows you take multiple images at once without needing to reload film. If you don't know the proper way to measure, this method can be difficult. Consider shooting multiple frames on the same roll of film if you plan to shoot multiple images. Remember to take a photograph of the original first before you start the second one.
Luminar 3 can create a double exposure
It is necessary to prepare two images in order to create a double exposed. You should choose a rural landscape for the base and a cityscape for the top image to get the best results. You should make sure you adjust your camera settings to ensure that the background image and top picture look well together. Once you have your two images, you are able to combine them in Photoshop. Luminar makes this easy and fast.
A landscape, portrait, or abstract image can all be used to create double exposures. The most captivating double exposure images will be those that evoke certain emotions and cause viewers to think about the underlying message. Luminar 3 with its free trial is all you need to create a double expose. The first step is to create the shot. Once you have focused on the visual aspects, the next step is to focus on creating the double exposure. Then, you can adjust the opacity of the photos using the different brushes available in the program.
FAQ
Is digital photography hard?
Digital photography is not as simple as it seems. It takes time and effort to learn how to use the tools properly. For different shots, you need to know which settings to use. Experimenting is the best way of learning. Practice makes perfect.
Should I begin photography as a hobby.
Photography is a great way of capturing memories and sharing them with loved ones. It also allows you to learn more about the world around you.
If you are interested in learning how to take better pictures, there are plenty of resources available online to help you do just that.
You might also consider enrolling in classes at nearby community colleges or art schools. This will allow you to network with other photographers who can give valuable feedback on your work.
How can my phone improve my photo skills?
You don't need expensive equipment to take great photos! Amazing images can be captured with a smartphone.
Just need to learn the basics of how to use it all.
There are many apps for iOS and Android devices that can edit and share pictures.
Here are five tips that will help you start taking better photographs.
-
Set Up Your Camera App. Your camera application should be already installed on your device. If it is not installed, you can download it from Google Play.
-
Use Effects & Filters. Filters and effects can be used to modify the appearance of your photograph without touching your image.
-
Adjust Exposure. Adjusting the exposure can help you control the brightness in your picture.
-
Use the Right Lighting Bright light allows you to better see the details of your subject. Shooting in low light conditions lets you capture the shadows and highlights in your image.
-
Take Pictures Of People. Take pictures of people to show them what you love the most.
Learn more about taking better photos with your smartphone by reading our article 5 Tips to Improve Your Photography Skills.
Which Lenses Are Best?
Beginners often ask, "What lens should I purchase?" There are many options. It can be difficult to make a decision.
The good news is that you don't necessarily need to buy a new lens every time you purchase a new camera. You can always add lenses later.
There are three types possible lenses.
-
Wide Angle Lens (14mm to 24mm): These lenses allow you to see more of your subject from a wider angle. Zooming in can be done without affecting image quality.
-
Normal/Standard Zoom Lens (28mm to 70mm) : These lenses allow you the flexibility of changing focal lengths, while still maintaining high quality images.
-
Telephoto Zoom Lens (70mm to 200mm): These lenses make it easy to capture distant subjects. They allow you to focus on your subject despite the fact that they may seem small in the frame.
You can also combine these lenses to create different effects. You can use a normal lens for close-up detail and switch to a zoom lens to capture distant objects.
How do I become a good photographer?
Photography is an art form that requires patience, dedication, passion and dedication. Passionate about photography will make you do better than if it was just for the money.
You need to learn how to use your camera properly. You need to be able to comprehend composition, lighting, exposure, depth-of-field, and other aspects of photography. Also, you will need to be able to use Photoshop.
Photographing is not an easy task, but once you have mastered it, there is nothing more satisfying than creating images that capture moments that are lost in time.
You can improve your skills by reading books, attending classes, and participating in competitions. This will allow you to gain confidence and experience which will result in improvement. What equipment will I need?
It all depends on the type of photography that you are interested in. If you're interested in landscape photography, for example, you'll need a wide-angle lens.
If you're interested in portrait photography, you should get a telephoto zoom lens.
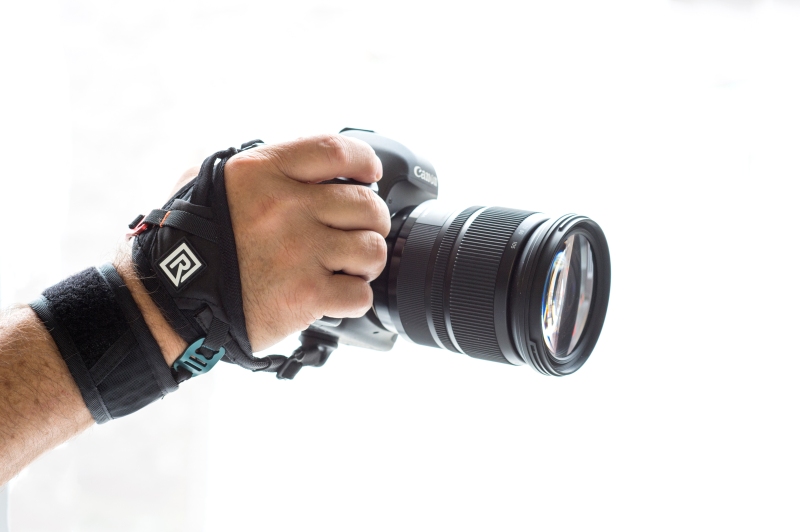
A tripod is crucial for taking photographs. It allows you to stand back and compose your picture without moving around.
Camera bags are great for carrying your accessories, such as memory cards and cameras.
A flash unit is necessary if you are using a compact camera.
A DSLR (Digital Single Lens Reflex), camera is the best choice for novice photographers who wish to create professional-quality images.
DSLRs are popular because they allow you to control every photo aspect, including shutter speed, aperture, ISO sensitivity, white balance, focus, and more. You also have the option to use autofocus, autoexposure lock and self-timer.
Statistics
- In this case, 100% of readers who voted found the article helpful, earning it our reader-approved status. (wikihow.com)
- Get 40% off Adobe Creative Cloud(opens in new tab) (creativebloq.com)
- That's the easiest way to get blurry photos 100% of the time. (photographylife.com)
- The second easiest way to get blurry photos 100% of the time is to use a cheap filter on the front of your lens. (photographylife.com)
External Links
How To
How to Take Portrait Photos
Portraits are important because it shows who you really are. They also tell your story. You may have a favorite picture of yourself when you were younger, but now you want to capture something new. It is easy to forget how much fun it can be to take pictures. These tips will help you get started.
-
You need to have enough lighting. Photographing portraits in the early morning or later in the afternoon is the best time. If you use flash, make sure there is no direct sunlight shining into your face. This will wash out all details. Also, avoid taking photos at midday. It will create too many shadows.
-
Use a tripod. You won't be able to see movement if you keep the camera still. That means you'll miss the chance to freeze action. Set up your shot before you use a flash. Then turn off the flash and try again.
-
Shoot close-ups. Closeups allow you to show detail. You might find them a little too realistic if your eyes aren't sharp enough. Pay close attention and observe the noses, eyes, and mouths. Notice anything unusual? Is someone wearing glasses? Are there freckles on the nose of someone wearing glasses? These features add depth and dimension to an individual's appearance.
-
Smiles are not something you can force. Smiles can be difficult. Smiles can be tricky. Many people smile naturally when feeling happy. You cannot force them to smile. What makes you laugh? Maybe it's something silly such as watching your cat jump through a hoop. Maybe you just love to watch paint dry. Whatever it is, keep thinking about it until you start laughing.
-
Creativity is key. Many people think they are boring. But being ordinary isn't bad. Try to find ways to break away from the norm. For example, you could ask someone to pose with his hands behind his back. You could also suggest having him wear an amusing hat.
-
Keep practicing. You will improve your ability to capture moments if you keep practicing every day. You will notice more interesting things as you get better.
-
Have fun. Shooting photos should be enjoyable. If you enjoy the experience, you will be more likely do it again. You'll likely end up with some truly amazing shots.
-
Show off your work. Once you are able to take high-quality pictures, share them. Explain to them why you took that picture. Show them where it was. Tell them what you did.
-
Be patient. Sometimes, it's just not possible to click. It happens to everyone. Don't worry. Keep moving on to another image.