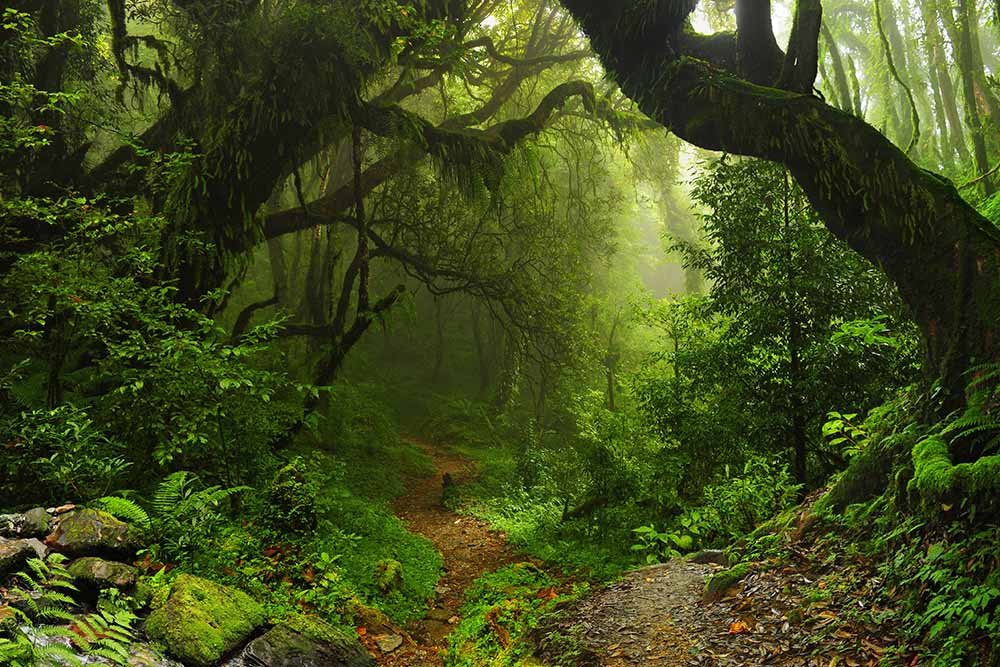
Natural light photography is a method that uses sunlight as the main source for illumination. Photographers have different light sources, and the lighting available will vary depending on the time of year. A bright day can offer full illumination, while a cloudy day can produce a more dramatic texture. The quality and orientation of the sun also play a role in the quality of a natural-light shot. In addition, light from the sun must be filtered through the atmosphere to create the desired mood, color, and texture.
Guide to natural sunlight photography
Natural light photography is an art that uses sunlight to create photographs. This style of photography is unaffected by artificial lights, and the sun's light intensity changes throughout each day. Understanding the basic principles of natural light will help you make better images. By understanding natural light, you can use it to your advantage in a variety of settings.
Using natural light is essential for capturing unique visual stories. Rachel Devine offers some helpful tips in this guide for using natural light. She suggests distracting family members by making a meal or talking with them. This is a wonderful way to capture their emotions and not have to concentrate on the camera.
Techniques for working in it
If you've ever wondered whether you can use natural light in your photography, you're not alone. There are many reasons why photographers don't like working with artificial light. There are several techniques that you can employ, regardless of whether you are trying to learn the nuances and enhance your photography skills.
First, understand how light changes throughout the day. Natural light, unlike artificial lighting, changes rapidly and isn't always constant. The way natural light renders a topic will depend on its location, the time of day, and the direction.
Negatives to shooting in natural light
Natural lighting is an excellent way to take photos. This light source is great for photography on the street, wildlife, and birds. It can also be used to capture subjects from far away. You can also use it outdoors to capture more detail, and create a feeling of aliveness. You should plan your shots in advance because natural light is unpredictable.
Natural light is both free and easily accessible. But there are some drawbacks. It is not always flattering, and can cause hard shadows. The downside to shooting in natural lighting is that you don't have much control over how bright it is. It is possible to end up with photographs with unnatural colors, faces, and even shadows if the sunlight is too strong.
Tips for capturing great shots in natural light
Natural light is a tricky art form. These tips can make the difference in making great shots or getting poor ones. Depending on the time of day, weather conditions, and location, you'll want to take advantage of different light sources to get the best possible results. For instance, if you're shooting indoors, you can use windows for soft, diffused light. However, it's important to position your subject so that their back is toward the light source to avoid creating unwanted shadows. You can also use a mirror to adjust the brightness of the light. It's important to position the reflector, if available, opposite the source of light.
In addition to the use of filters, you can also use natural light to highlight specific features of your subject. You can achieve the desired effect by controlling the angle of sunlight. This will show off your photography skills. Natural light can have a wide range of moods and colours, so your subject may appear warm and golden or cool and blue. Human eyes naturally adjust colours to match the light, but a camera uses a setting called white balance to compensate for these differences.
FAQ
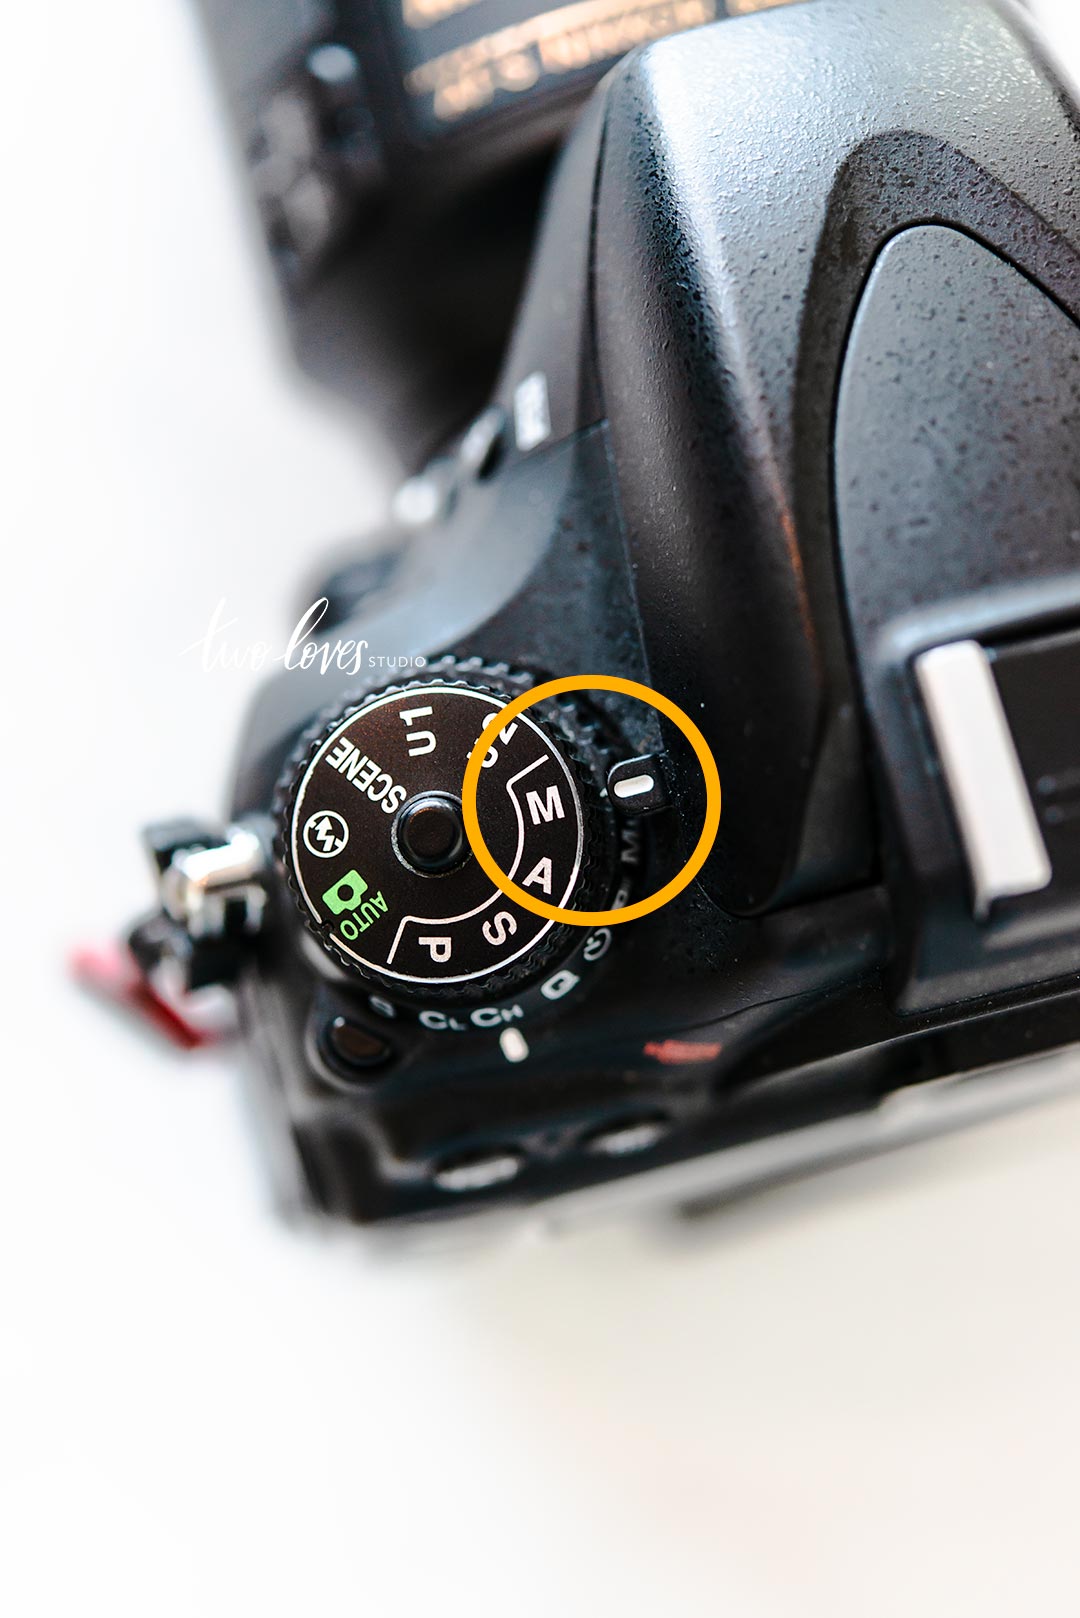
Is digital photography hard?
Digital photography is not as simple as it seems. You will need to spend time learning how to use these tools correctly. It is important to be familiar with the settings that are best for each type of shot. You can learn best by doing. Practice makes perfect.
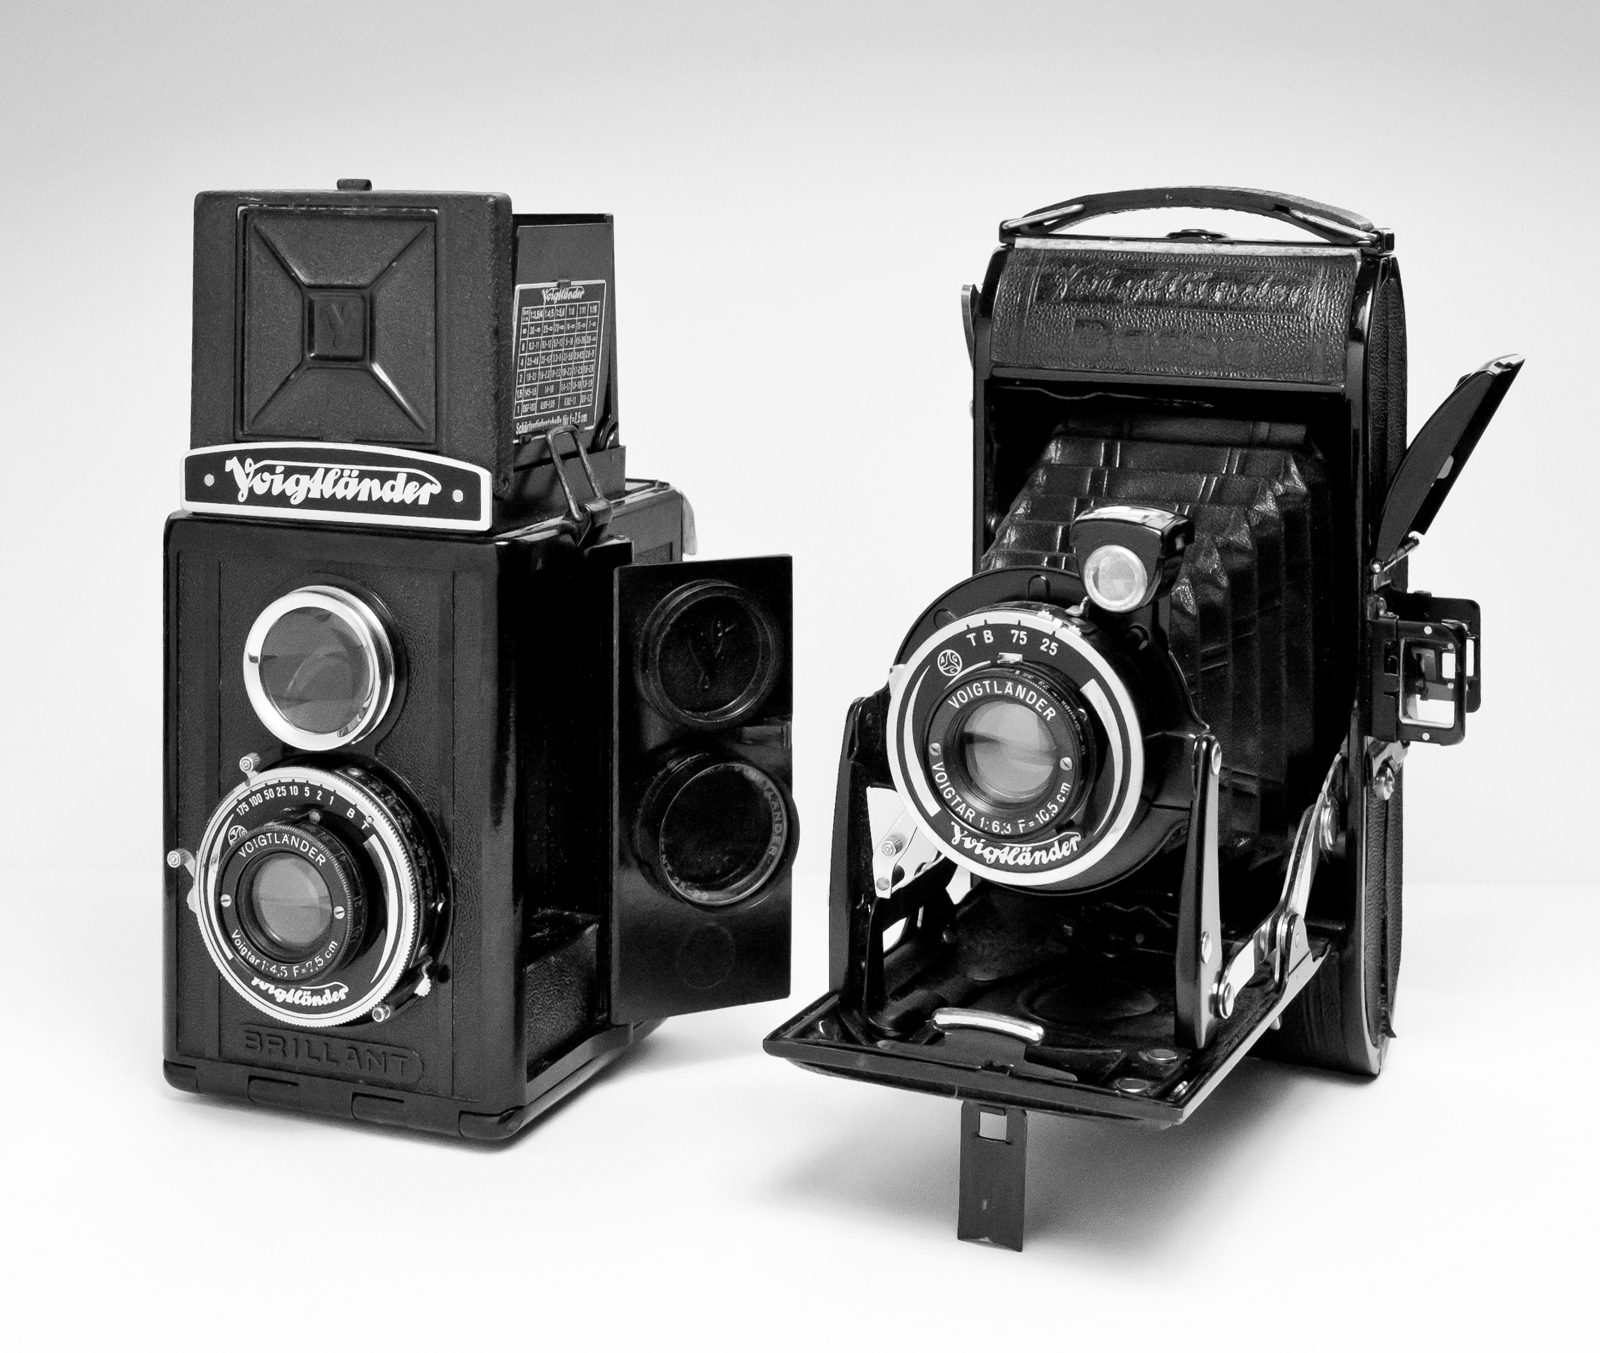
Where can I buy cameras?
Cameras can be purchased online from many different places. However, we recommend buying from a reputable retailer like B&H Photo Video. They have knowledgeable staff that can help answer any questions you may have.
B&H also ships quickly and securely, making it easy to get your order delivered to your door.
This video will explain how to shop for cameras.
Photography is a great job.
Photography is an art form that allows you to capture moments in time and share them with others. You can make a lot of money by taking up photography if you are willing and able to work hard. If you want to become a professional photographer, there are many ways to do this. You can start by taking photos as a hobby for family and friends. This would improve your confidence and skills. Once you have mastered this stage, you can move on to paid assignments. The best photographers earn a living from their craft. Photographers may be asked to photograph people at parties and weddings. The majority of professionals prefer to shoot commercial projects, such product shots or ads.
Finding the type of photography that you love is key to being a successful photographer. Continue to practice, experiment and learn new techniques until your skills are perfected. Experience is the best substitute, so don’t expect success overnight.
Begin with technical skills, before moving on to creativity. Photography is both technical and artistic. The best way to achieve success in photography is to master the fundamentals of composition and use the right tools.
You should also consider whether you want to pursue a career in photography full-time or part-time. Some people combine their love of photography with other work. For example, you might work at a local newspaper or magazine while pursuing freelance assignments. Others choose to dedicate their entire time to photography. It doesn't matter what way you go, success in any creative field requires dedication and commitment.
You will need to put in a lot of effort and time if you are serious about a career as a photographer. You should think about whether this is something you want to dedicate your life to.
What is the rule of thirds in photography?
The rule of thirds can be used to create beautiful compositions, without having to use complicated camera settings. It divides your photo into nine equal parts horizontally as well vertically. This divides your image into three areas that you would like to see your subject. These are the top (3rd from the left), middle (3rd from center) and bottom (3rd from lower right). These areas are useful for positioning your subject in your frame.
You can avoid placing important elements too close together, or too far apart, by using the rule of thirds. They might not have enough space to make an impact on the eye if they are placed close together. They might lose focus if they are too close together.
What Lenses Should I Use
The most frequently asked question by beginners is "What lens should i buy?" The choice is difficult because of the many options.
You don't have to buy a brand new lens each time you purchase a new camera. Instead, you can add lenses later on.
Here are three types you might be interested in.
-
Wide Angle Lens (14mm to 24mm): These lenses allow you to see more of your subject from a wider angle. Zooming in can be done without affecting image quality.
-
Standard/Normal Zoom Lens (28mm-70mm): These lenses let you change the focal length while still maintaining excellent image quality.
-
Telephoto Zoom Lens (70mm, 200mm): These lenses work well for distant subjects. These lenses let you focus on the subject even if they are small.
These lenses can be combined in a variety of ways to create new effects. To capture close-up details, you can switch between a normal and telephoto lens.
Light Room is a great way to enhance your photos.
You can get great photos if you start early. It's better if you take as many shots possible before you decide on the ones that give the most value.
This is possible because Lightroom lets you see how different settings affect each image. These settings can be changed on the fly, without needing to return to Photoshop. This allows you to quickly experiment with what looks good and what doesn’t.
Do I Need A Tripod?
This is one of those questions that everyone asks. The truth is that a tripod isn't always necessary, but it can come in handy.
It helps you keep your camera steady while taking pictures at slow shutter speeds. Tripods can be a huge help when you are shooting landscapes or stationary subjects.
However, tripods can blur the images of moving subjects like sports and people. How can you tell which situations call for a tripod and why?
A tripod is an essential tool for photographing fast-moving subjects or stationary objects. Examples include:
-
Sports
-
People
-
Landscapes
-
Close-ups
-
Macro shots
If you're unsure whether you need a tripod, try this test. Keep your camera still, and then look through the viewfinder. A tripod is required if there are blurred lines, movement or other issues.
A tripod will not improve blurring if you don't notice it.
However, if you do decide to invest in a tripod, here are some tips to keep in mind.
-
Make sure your tripod has smooth legs. This will stop unwanted vibrations shaking your camera.
-
Use a sturdy tripod. Some tripods can be made out of plastic but they are not very durable. You should opt for a steel tripod.
-
You may want to consider buying a remote-control device. This allows you to control your camera remotely. Once you press the button, it will automatically fire the shutter.
-
Try to find a tripod with a head that rotates 360 degrees. This allows you to place your camera horizontally and vertically.
-
You should keep in mind that tripods don't come cheap. Expect to spend around $100-200. However, you'll get lots of value for your dollar.
-
Don't forget about accessories like filters and memory cards.
-
Before shopping online, be sure to visit your local shop. Many retailers offer free shipping.
-
Check out customer reviews to learn what they think about a product.
-
Ask friends and family members who own similar products.
-
You can learn from customers' experiences by visiting message boards and forums.
-
Look online for user reviews.
-
Amazon.com is a website that allows you to compare prices and get customer feedback.
-
Check out these photo galleries for an example of the work that photographers do with their tripods.
Statistics
- In this case, 100% of readers who voted found the article helpful, earning it our reader-approved status. (wikihow.com)
- The second easiest way to get blurry photos 100% of the time is to use a cheap filter on the front of your lens. (photographylife.com)
- Get 40% off Adobe Creative Cloud(opens in new tab) (creativebloq.com)
- That's the easiest way to get blurry photos 100% of the time. (photographylife.com)
External Links
How To
How to take macro shots in photography
Macro photography can be defined as the ability of taking pictures at close range of small objects, such insects or flowers. Macro comes from the Greek makros (makros) which means large. If your lens has a focal distance greater than 50mm you can photograph objects that are extremely close up.
A macro lens with a good working distance should be able to capture sharp images even when you are not moving too much. It is important to avoid motion while taking photos. Anything that moves during exposure may blur your image.
Here are some great tips to create stunning macro photographs.
-
Use a tripod. If you don't have one, try to set up a table or chair where you won't accidentally knock something over. This will ensure that you have less movement while shooting.
-
Pick the right lighting. Many macro lenses have built-in light filters. If you don't already own one, get one. This prevents excessive exposure.
-
Be patient! Shooting macros takes practice. Even though you might only see one tiny bug or flower at a time, it is worthwhile to continue shooting until you capture it.
-
RAW is the best format for shooting. RAW files can store more information than standard JPEGs. RAW files allow you to make changes such as cropping, color correction and other adjustments later.
-
It's important to remember the background. Even though you've got a nice foreground object, sometimes the background adds interest to your shot. Include it in your shot.
-
Keep learning.