Great wildlife photography requires patience and waiting for the right moment. You will need patience to capture wildlife photographs. A camera and lenses are essential. Learn how to use your camera's features like shutter speed, aperture, ISO. These settings can help you create beautiful wildlife photographs. These tips will help you capture stunning wildlife photos.
Here are some guidelines for wildlife photography
There are a few basic do's and don'ts to take when photographing wildlife. First, find a spot with good light and a good subject. For action shots, you will need to choose a location that is well lit and has a great composition. You should avoid taking photos of endangered or rare animals. Finally, you should consider your focal length. To create dramatic shots, wildlife photography typically requires long focal lengths. However, you can experiment with shorter focal distances.

Position yourself between the sun & the subject
Photographing wildlife will result in the best images if you are positioned between the subject's shadow and the sun. It is best to position yourself between your subject and the sun, so that your shadow falls directly on your subject. It is a good idea, before you go outside to check your position, to make sure it is correct. Alternatively, you can position yourself so that your shadow is pointing toward the subject. Plan your route ahead of time to ensure you are in the best spot relative to the sun.
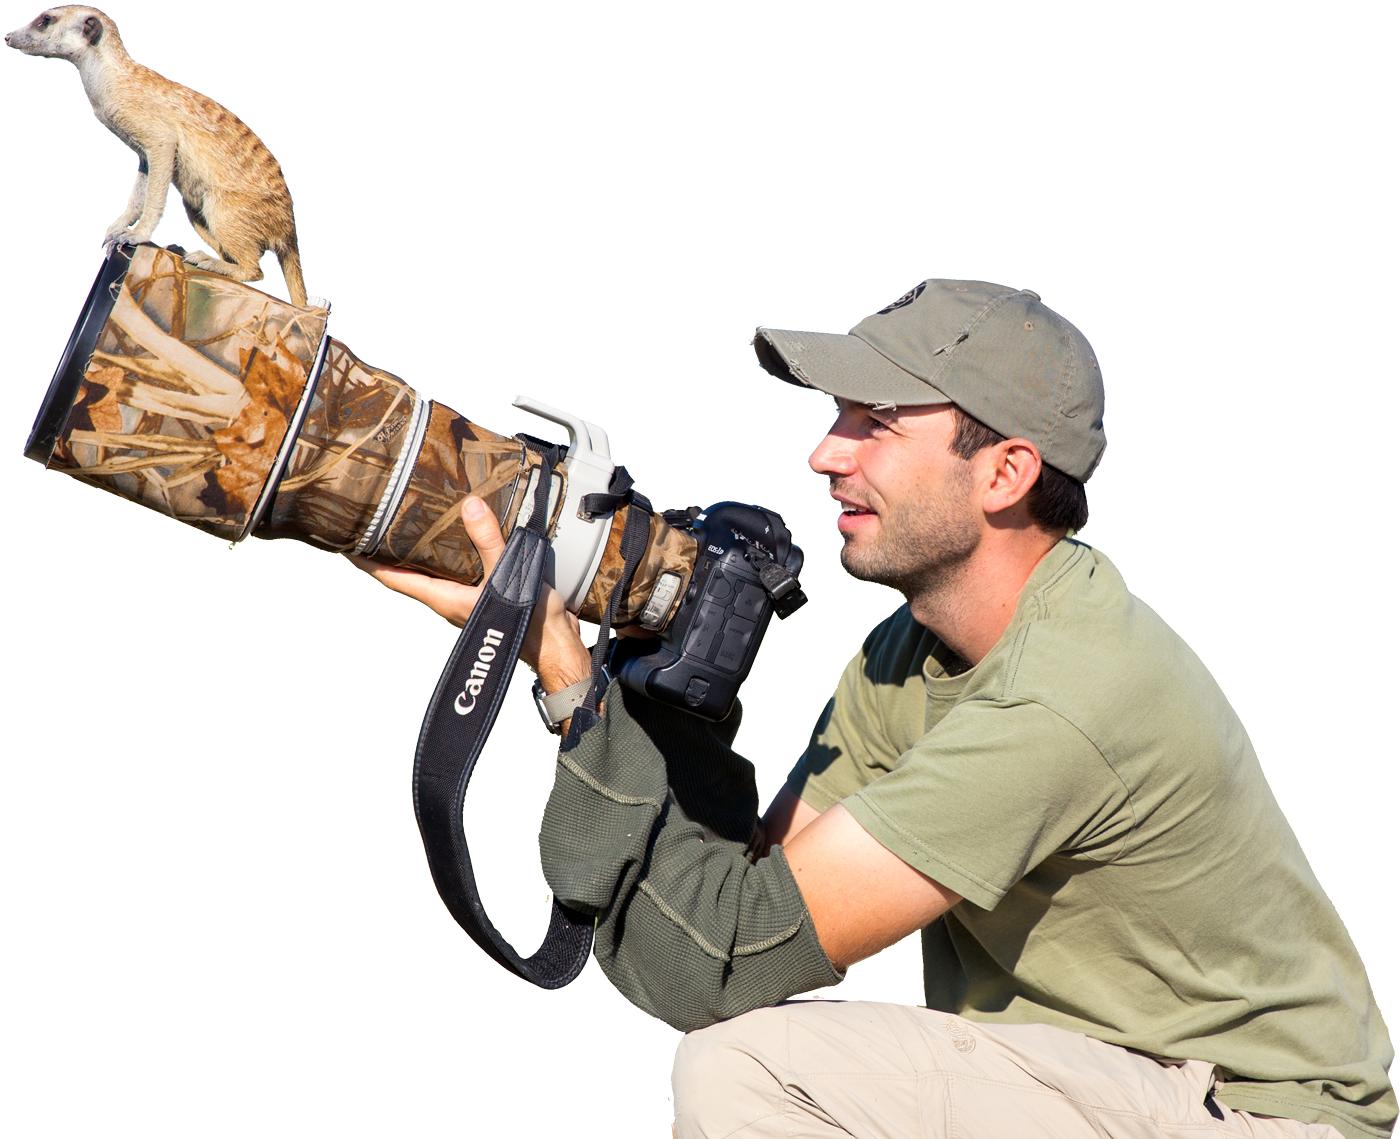
Telephoto lens
Using a telephoto lens to capture wildlife photographs requires special equipment and knowledge. These lenses are quite heavy due to their long focal length. These lenses can also be mounted on a tripod or monopod. A tripod eliminates camera shake. This allows the photographer focus on their subject instead of fiddling around with their camera. Photographing wildlife requires a tripod. Depending on which lens it is, it may be from a few inches or three feet in length.
Get close to your subject
While it may be tempting to get close to your subject when photographing wildlife, be aware of your surroundings and your camera's settings. Being too close to an animal could cause it to become stressed and even lead to its death. Small animals are also highly aware of humans' presence, and can react negatively when approached. Avoid stepping on any critters and avoid muddy puddles as this could put your photo shoot at risk.
Use a hide
You can get closer to wildlife by using a hide for photography. This hide is made from wood and can last a long time. But, you should be aware that hiding in hides can attract unwanted attention from animals. It is important to get permission to set up your hide, and to offer mounted or framed photos to your subjects. You can help animals avoid noticing your hide by checking the light movement with a compass, or a map.
FAQ
What is the rule to thirds in photography
The rule-of-thirds is a simple way to create interesting compositions using no complicated camera settings. It divides the image horizontally or vertically into nine equal pieces. This creates three main areas where you want your subject to appear. These are the top (upper left corner), middle (center) and bottom (lower right). These areas can be used to position your subject within your frame.
The rule of Thirds helps you avoid placing crucial elements too close together. They may not be able to create a strong visual impact if they are too close together. You might find that they lose focus if you place them too close together.
How can I improve my photography skills on my phone?
Amazing photos are possible with minimal equipment. You can take amazing photos with just a phone.
It is easy to learn how to use its various features and some basic techniques.
There are many apps to help you edit and share your photos on both Android and iOS.
Here are five tips for taking better pictures.
-
Set Up Your Camera App. Your device should already have your camera app installed. If not, download it from Google Play or Apple's App Store.
-
Use effects and filters. Effects and filters allow you to alter the appearance of your photos without needing to touch them.
-
Adjust Exposure. Adjusting the exposure can help you control the brightness in your picture.
-
Take the right lighting. The brighter the light, the easier it is to see details. You can capture highlights and shadows in low-light conditions.
-
Take Pictures Of People. It is a great way to share your love with others by taking pictures of them.
For more information on how to take better photos, read our article: 5 Tips to Improve Your Photography Skills With A Smartphone
How can I look good on pictures?
The best way to ensure you look good in photos is to take them yourself. You'll learn how you pose for the camera and which angles are best. You'll also learn how to use lighting and props to enhance your natural beauty.
Learn how to select clothes that fit you well, what make-up looks good on you and what hairstyles best suit your style.
If you are not happy with your results, we will show you how you can retouch them using Photoshop and other editing tools.
Don't be afraid to take some self-portraits.
Is digital photography hard?
Digital photography is not as simple as it seems. It takes time to master the tools. You need to know what settings to use for different types of shots. Experimenting is the best way of learning. Practice makes perfect.
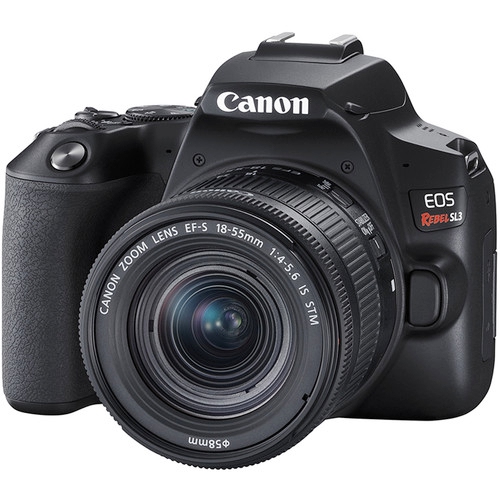
What equipment is necessary to begin digital photography
The first thing you should consider when starting out in digital photography is what type of camera you want to use. There are many choices, including DSLRs (digital one-lens reflex cameras), point and shoot compact cameras, camcorders, smartphones, and camcorders. Each one has its advantages and disadvantages. DSLR cameras, however, are larger and heavier than most other types of cameras. Point-and–shoot cameras can be smaller and lighter than DSLR cameras, and they often have automatic settings that allow for special situations. Camcorders have excellent video recording capabilities. They may also offer still-photo shooting modes. Smartphones are small, light, and easy to carry around and offer great image quality and many advanced features such as GPS mapping, music playback, and Internet browsing.
Once you've decided on the type of camera you'd like to buy, you will need to decide whether you would rather buy a used or new one. Even if the cameras were bought in the last few decades, they can still be purchased at reasonable prices. Because manufacturers invest large sums of money in developing new technology, new models tend to be more expensive.
Next, you'll need to buy lenses. Lenses are a critical part of determining the quality your photos. They enable you to adjust the focal length of the lens so that you can zoom into the scene with no loss of focus. Some lenses come with built-in flash units while others need external flash units. A wide range of lenses is available from various brands, each offering unique characteristics.
You will also need memory cards. Memory cards store photos taken by your camera. You can store hundreds, thousands, or even more pictures depending on the size of the card. You will need multiple memory card if you plan on taking many photos.
Statistics
- That's the easiest way to get blurry photos 100% of the time. (photographylife.com)
- The second easiest way to get blurry photos 100% of the time is to use a cheap filter on the front of your lens. (photographylife.com)
- By March 2014, about 3 million were purchased monthly, about 30 percent of the peak sales total. (en.wikipedia.org)
- In this case, 100% of readers who voted found the article helpful, earning it our reader-approved status. (wikihow.com)
External Links
How To
How to photograph in low light conditions
Low-light photography refers to taking photos in dimly lit or dark environments. It requires special equipment. The main challenges are controlling exposure, white-balance, and sharpness. Low light photography can be divided into two categories: ambient and flash. Flash photography is best when there is enough light. But if there isn't enough natural light, then you'll have to use a flash. A flash might be necessary if you are photographing a subject indoors and outside. Try shooting at night, during the moonlit hours, if you don't need a flash. This will allow you to get nice shadows and colors. Another option is to capture at twilight. Twilight is when the sun sets but there's still daylight.
You may also want to experiment with long exposures. Long exposures allow you to record images after the shutter has been open for several minutes. When the shutter remains closed, the camera records only light that falls on the sensor. During a long exposure, this light continues to fall onto the photo sensor. Because the shutter was closed, no new light enters your lens. The result is that there is very little movement. To ensure a clear image, you should turn off all automatic settings such autofocus or exposure. Make sure to adjust the ISO setting before starting to shoot. An ISO setting 200 gives you more control over how bright or dim your image appears. The shutter button should be pressed quickly when you are ready to take the photo. This will cause the shutter to close completely. Keep the shutter button pressed down until the last second. You will prevent additional light from entering your camera by keeping the shutter button down. Once you take the shot, wait a while before you release the shutter. This allows the camera to process the image. While your image processing is taking place, you will be able to view your photos on your screen. Once you are satisfied, save them on your computer.